How to Apply Contour Stick for a Natural Finish
Contour stick can add soft definition to the face, but it is easy to apply too much or place it in areas that do not blend naturally.
The most effective technique is usually to use a small amount, apply it only where you want subtle depth, and blend the edges before the product begins to set. Contour should look like a gentle shadow rather than a visible stripe.
A cream contour stick is especially convenient because it can be applied directly, blended with a brush or sponge, and layered gradually. It can work for light everyday makeup, fuller evening looks, or targeted definition around the cheeks, forehead, jawline, and nose.
This guide explains how to apply contour stick step by step, where to place it, how to choose a shade, and how to create a natural finish without overcomplicating the process.
How to Apply Contour Stick at a Glance
A simple contour-stick routine looks like this:
- Prepare and moisturize the skin.
- Apply foundation or skin tint when used.
- Choose a contour shade slightly deeper than your skin tone.
- Apply a small amount under the cheekbones.
- Add a little near the hairline, jawline, or nose when desired.
- Blend upward and outward.
- Soften visible edges.
- Add more only if necessary.
- Set lightly with powder when needed.
- Finish with blush or highlighter.
The most important rule is to begin with less product than you think you need.
What Is a Contour Stick?
A contour stick is a cream product designed to create the appearance of soft shadow and definition.
It is usually packaged in a twist-up tube and has a texture that is:
- Creamy
- Blendable
- Portable
- Easy to apply directly
- Suitable for targeted placement
Contour sticks are often used around:
- Cheekbones
- Forehead
- Jawline
- Nose
- Chin
Some formulas dry down quickly, while others remain creamy for longer.
Contour vs Bronzer
Contour and bronzer serve different purposes.
Contour
Contour creates the appearance of shadow.
It is usually:
- Neutral
- Cool-neutral
- Slightly grey-brown
- Matte or low-shine
It is placed in areas where natural shadow would appear.
Bronzer
Bronzer adds warmth.
It is usually:
- Golden
- Warm brown
- Terracotta
- Sun-kissed
- Slightly radiant or matte
It is applied to areas where warmth naturally appears, such as the upper cheeks, forehead, and bridge of the nose.
You can use contour and bronzer together, but one product may be enough for a simple routine.
How to Choose the Right Contour Stick Shade
The right contour shade should be deeper than your complexion without looking orange, muddy, or grey.
A useful starting point is one to three shades deeper than your skin tone.
For fair skin
Look for:
- Light taupe
- Cool beige-brown
- Soft neutral brown
- Muted grey-brown
Avoid very dark or strongly orange shades.
For light skin
Look for:
- Neutral brown
- Soft taupe
- Light mocha
- Cool beige
For medium skin
Look for:
- Medium neutral brown
- Soft chocolate
- Cool caramel
- Balanced mocha
For tan skin
Look for:
- Deep caramel
- Neutral cocoa
- Rich brown
- Cool bronze-brown
For deep skin
Look for:
- Deep chocolate
- Espresso
- Cool ebony-brown
- Rich neutral brown
The shade should remain visible after blending without turning ashy.
Warm, Cool, or Neutral Contour?
The best undertone depends on your complexion and the effect you want.
Cool contour
Creates the strongest shadow effect.
It may suit:
- Fair skin
- Cool undertones
- More sculpted looks
- Nose contouring
Very cool shades can appear grey when applied too heavily.
Neutral contour
Provides a balanced result and usually works well for everyday makeup.
It may suit:
- Most undertones
- Natural-looking cheek contour
- Beginners
- Light to medium definition
Warm contour
Warm contour can begin to resemble bronzer.
It may suit:
- Warm skin tones
- Golden complexions
- Soft sun-kissed looks
Avoid very orange formulas when the goal is realistic shadow.
What Should You Apply Before Contour Stick?
Contour stick usually goes after base products and before powder.
A common order is:
- Skincare
- Sunscreen
- Primer, when used
- Foundation or skin tint
- Concealer
- Cream contour
- Cream blush
- Setting powder
- Powder bronzer or blush, when used
- Highlighter
Contour can also be applied directly over bare skin when you are not wearing foundation.
Should Contour Go Before or After Foundation?
Most people apply contour after foundation because it is easier to see where definition is needed.
Applying it after foundation also helps the shade remain visible.
Contour can be applied before foundation for a softer underpainted effect. In that method:
- Apply contour to bare or primed skin.
- Blend lightly.
- Apply a thin layer of foundation over it.
This technique creates more subtle definition but may require extra blending.
Step 1: Prepare the Skin
Contour blends best over smooth, moisturized skin.
Before makeup:
- Cleanse when needed.
- Apply moisturizer.
- Use sunscreen in the morning.
- Allow skincare to settle.
- Apply primer if you normally use one.
Avoid applying a thick layer of skincare immediately before cream contour because the product may slide or separate.
Step 2: Apply Your Base
Use foundation, skin tint, or concealer according to your usual routine.
Keep the base relatively thin around areas where contour will be placed.
A heavy foundation layer can become patchy when cream products are blended over it.
If you prefer minimal makeup, contour can be blended over moisturized skin without foundation.
Step 3: Warm the Product
Some contour sticks are firm when first opened.
To improve blendability:
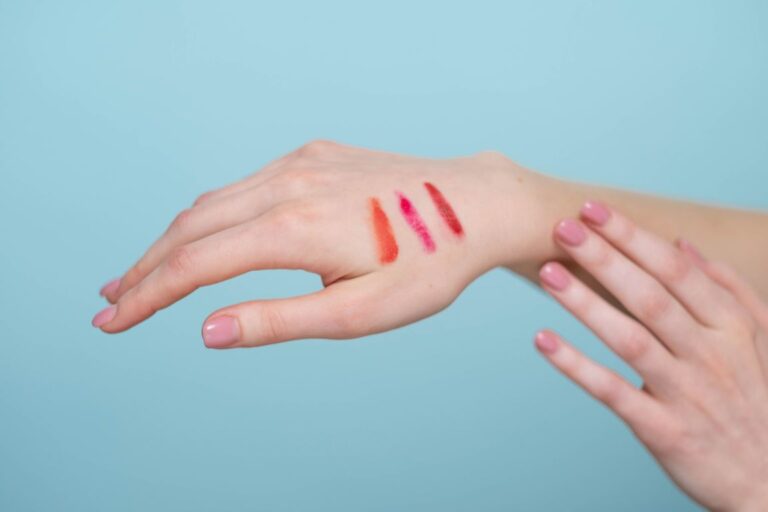
- Swipe the stick onto the back of your hand.
- Pick up product with a brush.
- Warm the surface briefly with your fingertips.
- Apply a small amount directly to the face.
Using a brush to collect product from the stick often gives more control than drawing thick lines directly onto the skin.
Step 4: Contour the Cheeks
The cheek area is the most common place to use contour.
To find the placement:
- Feel for the cheekbone with your fingers.
- Place contour slightly underneath it.
- Begin near the upper ear.
- Stop before reaching the corner of the mouth.
Apply a short line or a few dots rather than one thick stripe.
Blend upward toward the cheekbone and hairline.
Avoid blending too far downward because this may make the area look heavy rather than lifted.
How High Should Cheek Contour Be?
Place contour close to the underside of the cheekbone rather than far down on the lower cheek.
A higher placement generally creates a softer, more natural effect.
The contour should fade before reaching the center of the face.
Step 5: Contour the Forehead
Forehead contour can add subtle depth near the hairline.
Apply a small amount:
- Near the temples
- Along the upper hairline
- Only where extra definition is wanted
Blend into the hairline so no clear edge remains.
You do not need to contour the entire forehead.
People with a smaller forehead may prefer contour only at the temples or may skip this step completely.
Step 6: Contour the Jawline
Jawline contour should be subtle.
Apply product:
- Under the jaw rather than directly on top
- Near the back of the jaw
- In a thin line toward the chin when needed
Blend downward into the neck.
The goal is to prevent a visible stripe between the face and neck.
Use less product near the front of the chin.
Step 7: Contour the Nose
Nose contour requires very little product.
Use a small brush rather than applying the stick directly.
A simple method:
- Pick up a small amount of contour.
- Draw two soft lines along the sides of the nose.
- Keep the lines close together.
- Blend carefully.
- Add a small amount beneath the tip when desired.
- Apply a subtle highlight down the center.
Avoid making the lines too dark or too far apart.
The result should look softly shaded, not visibly drawn.
Step 8: Contour the Chin
Chin contour is optional.
Apply a small amount:
- Beneath the lower lip for subtle depth
- Along the underside of the chin
- Near the jawline for continuity
Blend thoroughly.
Too much contour around the mouth can look muddy, so use a light hand.
How to Blend Contour Stick
Blending determines whether contour looks natural.
You can use:
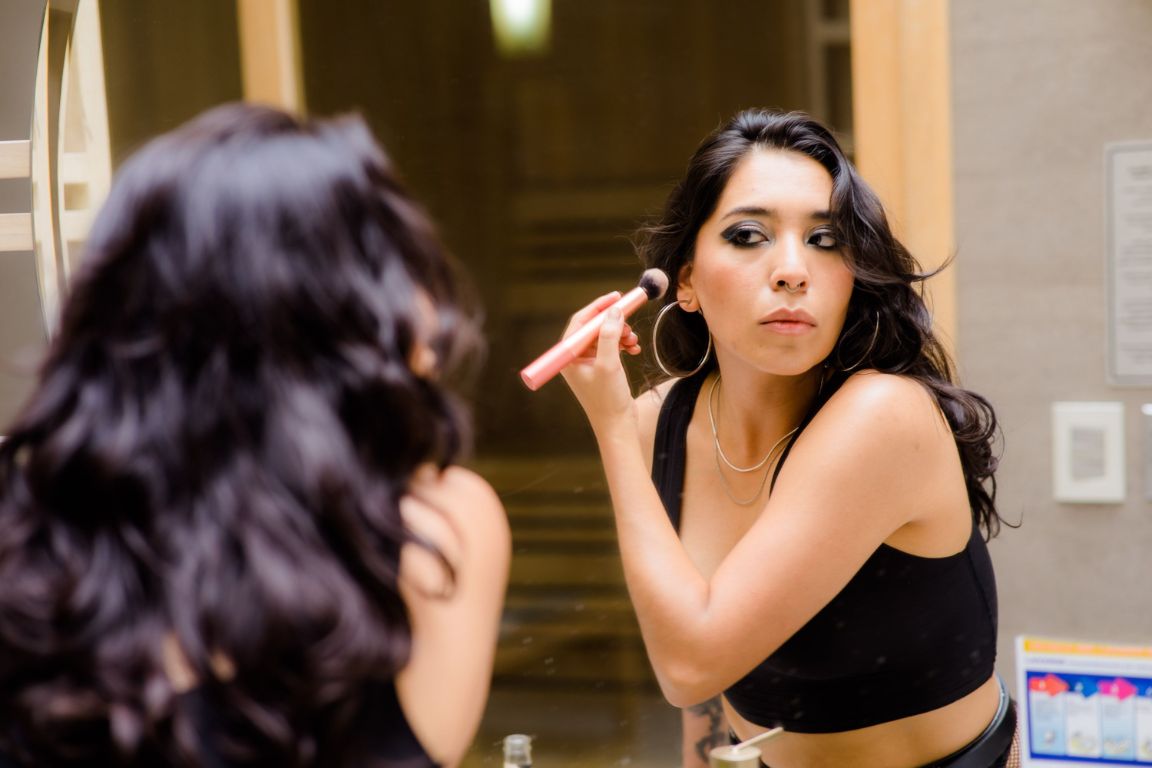
- Dense angled brush
- Small buffing brush
- Makeup sponge
- Fingers
- Dual-ended contour brush
Use short tapping or circular motions rather than dragging the product across the face.
Blend the edges first, then soften the center.
How to Blend Contour With a Brush
A brush gives the most control.
For cheek contour:
- Tap the brush over the product.
- Blend upward.
- Use small circular motions.
- Keep the product concentrated near the hairline.
- Soften the front edge.
A dense brush creates stronger definition, while a fluffy brush creates a softer result.
How to Blend Contour With a Sponge
A damp makeup sponge creates a diffused finish.
Use the rounded or angled side to:
- Tap over the contour
- Press the product into the base
- Remove excess
- Soften edges
Do not swipe the sponge aggressively because it may remove foundation underneath.
How to Blend Contour With Fingers
Fingers can work well for small areas.
The warmth of your hands helps melt cream products into the skin.
Use fingertips to tap around:
- Nose
- Temples
- Jawline
- Small cheek areas
Avoid rubbing because this may disturb the base.
Should You Blend Contour Up or Down?
Cheek contour should generally be blended upward and outward.
This keeps the definition close to the cheekbone.
Jawline contour is blended downward into the neck.
Forehead contour is blended upward into the hairline.
Nose contour is blended gently inward and outward without spreading it too far.
How Much Contour Stick Should You Use?
Use a very small amount.
For each cheek, one short line or two to three dots may be enough.
For the forehead, jawline, and nose, begin with even less.
Cream contour is easier to add than remove.
A natural result usually comes from building two thin layers rather than applying one heavy layer.
How to Make Contour Look Natural
Use less product
Heavy application creates visible edges.
Choose the right undertone
A shade that is too orange may look like bronzer, while one that is too grey may look muddy.
Blend toward the hairline
The deepest color should usually remain near the outer part of the face.
Keep the center of the face lighter
Contour should fade as it approaches the nose and mouth.
Use soft lighting
Check the makeup in natural light when possible.
Add blush
Blush can help contour look more balanced and less severe.
Avoid over-setting
Too much powder can make cream contour look dry or patchy.
How to Set Cream Contour
Setting powder can improve wear time, especially on oily skin.
Use a small amount of translucent powder and press it lightly over the face.
You can also layer a powder contour over cream contour for stronger definition.
For a natural finish:
- Set only areas that crease or become oily.
- Use a small brush.
- Avoid heavy powder over dry areas.
- Keep the powder contour close to the cream placement.
Cream Contour vs Powder Contour
Cream contour
Advantages:
- Natural skin-like finish
- Easy to blend
- Works well for dry or normal skin
- Suitable for gradual layering
Possible drawbacks:
- May move on oily skin
- Can disturb foundation
- May need setting
Powder contour
Advantages:
- Easy to set
- Often lasts well on oily skin
- Provides precise definition
- Works over powder foundation
Possible drawbacks:
- Can look dry
- May become patchy over unset cream
- Can be harder to soften
Some people use cream for the base and powder for extra definition.
Contour Stick for Dry Skin
Dry skin usually benefits from creamy formulas.
To improve application:
- Moisturize well.
- Use a thin foundation layer.
- Avoid very matte contour.
- Blend with a damp sponge or soft brush.
- Use minimal setting powder.
Look for contour sticks with a flexible, emollient texture.
Contour Stick for Oily Skin
Oily skin may prefer a contour stick that sets down.
Use:
- Lightweight primer
- Thin foundation
- Small amount of contour
- Setting powder
- Optional powder contour
Avoid applying too much cream product in areas that become oily quickly.
Contour Stick for Combination Skin
Use different techniques by area.
For example:
- Blend with a sponge on dry cheeks.
- Set the T-zone with powder.
- Use less product near oily areas.
- Add powder contour only where needed.
Contour Stick for Mature-Looking Skin
Choose a creamy formula that blends without pulling.
Use:
- Lightweight layers
- Soft brushes
- Minimal powder
- Neutral shades
- Gentle tapping motions
Avoid very dry formulas or thick stripes.
The goal is soft definition rather than sharply drawn lines.
Contour Stick for Beginners
Beginners usually get the best result by contouring only the cheeks and temples.
A simple beginner routine:
- Apply foundation.
- Place two small dots under each cheekbone.
- Add one dot near each temple.
- Blend upward.
- Apply blush.
- Set lightly.
Once this feels comfortable, add jawline or nose contouring if desired.
How to Contour Without Foundation
Contour can be worn on bare skin.
Apply:
- Moisturizer
- Sunscreen
- Small amount of contour
- Cream blush
- Optional concealer
- Light powder where needed
Choose a sheer contour stick that blends easily.
This creates a minimal makeup look with gentle definition.
How to Use Contour Stick With Blush
Contour and blush should blend together rather than sit as separate stripes.
A common placement is:
- Contour under the cheekbone
- Blush slightly above and toward the center
- Highlighter on the upper cheekbone
Blend the edges where the products meet.
For a softer result, apply blush after contouring.
How to Use Contour Stick With Highlighter
Highlighter adds brightness while contour adds depth.
Apply highlighter to:
- Tops of cheekbones
- Center of the nose
- Inner corners of the eyes
- Brow bone
- Cupid’s bow
Use a small amount so the face does not look overly shiny.
Cream highlighter is usually applied before setting powder.
How to Fix Contour That Is Too Dark
When contour looks too strong:
- Tap over it with a clean sponge.
- Use a little foundation or concealer around the edges.
- Add blush to soften the transition.
- Blend with a clean fluffy brush.
- Press a small amount of translucent powder over it.
Do not add more contour to balance the other side until you correct the first side.
How to Fix Patchy Contour
Patchiness may happen when:
- The base is too dry
- Too much powder was applied first
- The contour sets too quickly
- The brush is too stiff
- The product was dragged rather than tapped
- Skincare has not settled
To fix it:
- Use a damp sponge.
- Tap over the uneven area.
- Add a small amount of foundation when needed.
- Reapply contour in a thin layer.
- Blend immediately.
How to Fix Orange Contour
Orange contour is often actually bronzer or a warm shade.
You can soften it by:
- Adding a small amount of neutral powder contour
- Blending with foundation
- Using cool-toned blush
- Applying less product
- Choosing a more neutral shade next time
Do not try to correct orange contour with a very grey product applied heavily.
How to Prevent Contour From Looking Muddy
Contour may look muddy when:
- The shade is too grey
- Too much product is used
- Several dark products overlap
- The base is not blended
- Blush and contour mix too heavily
- The brush contains old product
To prevent this:
- Use clean brushes.
- Apply thin layers.
- Keep contour placement controlled.
- Blend the edges.
- Choose a shade suitable for your skin depth.
Related guide: How to Clean Makeup Brushes Properly
Common Contour-Stick Mistakes
Drawing thick stripes
Thick lines are harder to blend and may disturb the base.
Applying too much near the mouth
Contour should usually fade before reaching the corner of the lips.
Blending cheek contour downward
This may make the placement look heavy.
Using a warm bronzer as contour
Warm products add color but may not create realistic shadow.
Applying cream over heavily powdered skin
The product may skip or become patchy.
Using the same amount everywhere
The nose and chin require much less product than the cheeks.
Forgetting to blend into the hairline
Visible edges near the forehead can look unnatural.
Using a shade that is too dark
A very dark contour is difficult to soften.
Adding more before blending
Blend the first layer fully before deciding whether more is needed.
A Simple Everyday Contour Routine
For a soft everyday look:
- Apply a light base.
- Pick up contour from the stick with a brush.
- Apply under the cheekbones.
- Add a small amount at the temples.
- Blend upward and outward.
- Add blush above the contour.
- Set lightly.
- Check the result in natural light.
This routine adds definition without making contour the main focus of the makeup.
A More Defined Contour Routine
For stronger definition:
- Apply foundation and concealer.
- Contour the cheeks, temples, forehead, and jawline.
- Add subtle nose contour.
- Blend each area carefully.
- Apply cream blush and highlighter.
- Set with translucent powder.
- Layer powder contour lightly.
- Finish with setting spray.
Build the intensity gradually.
Frequently Asked Questions
Where should contour stick be applied?
Contour stick is commonly applied under the cheekbones, near the temples, along the hairline, under the jaw, and lightly around the nose.
Do you apply contour stick before or after foundation?
It is usually applied after foundation and before powder. It can also be applied underneath foundation for a softer effect.
What is the best tool for blending contour stick?
A dense angled brush offers control, while a damp sponge creates a softer finish. Fingers can work for small areas.
Should contour be cool or warm?
Contour is usually neutral or cool-neutral because it is meant to resemble shadow. Warm shades are closer to bronzer.
How do you keep contour from looking harsh?
Use less product, choose a shade close to your skin depth, blend upward, and soften the front edges.
Can contour stick be used without foundation?
Yes. Apply it over moisturized skin or sunscreen and blend carefully for a minimal makeup look.
Should contour go before blush?
Cream contour is generally applied before blush. Blush can then be blended slightly over the upper edge.
Do you need to set contour stick with powder?
Not always. Oily skin or long-wear makeup may benefit from powder, while dry skin may prefer minimal setting.
Final Thoughts
Learning how to apply contour stick is mainly about placement, shade choice, and restraint.
Begin with a small amount under the cheekbones and near the temples. Blend upward and outward, keep the deepest color near the hairline, and soften every visible edge.
A natural contour should not look like a separate stripe on the face. It should create gentle depth that works with your blush, base, and overall makeup.
Choose a neutral shade, apply thin layers, and add more only after the first layer is completely blended.